MPLAB X and XC8

MPLAB X is the IDE (Integrated Development Environment) for Microchip PIC microcontrollers. It is the Successor to MPLAB v8 which was compatible with Windows only. Now Windows, OSX, and Linux users can all program PICs with official software. MPLAB X is built off the NetBeans project and is full featured.

XC8 is a C compiler for 8-bit PIC devices. We will be using the free Lite edition, which is a stripped down version of the Standard and Pro editions. These feature more optimizations to reduce code size and are not necessary for our purposes.

This guide will cover downloading, installing, and using MPLAB X and the XC8 Compiler for 8-bit PIC microcontrollers.

Note: I am using a Windows computer. If you are using OSX or Linux there may be slight differences to the exact procedure.

Step 1: Installing MPLAB X

The newest version of MPLAB X can be found here. Navigate to the Downloads tab on that page and select the appropriate version for your computer. Download the file and run the installer. It is OK to use default installation options.

Step 2: Installing XC8

XC8 can be downloaded here. Click "Downloads" in the left hand menu and select the version of XC8 for your computer. Download the file and run the installer. Once again, default options are OK.

Be sure to install the Free version. You can try the Pro version for a limited time, but I don't recommend it for one reason: When your trial expires, you may find you can no longer fit some of your projects within the memory of your device because your binaries are not being optimized anymore!

If you think you will want to use XC8 from the command line, make sure to check the option to update your system's PATH variable.

Step 3: Running MPLAB X

Launch MPLAB X. When the application is ready, click File>New Project. This will launch the New Project window. We will start a new project from scratch.

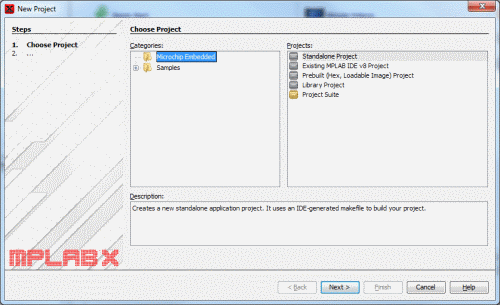
Under Categories, select Microchip Embedded. Under Projects, select Standalone Project. You can also do other things such as import an MPLAB v8 project or start a Library Project. However, the basic starting point is the Standalone Project. When done, click Next.

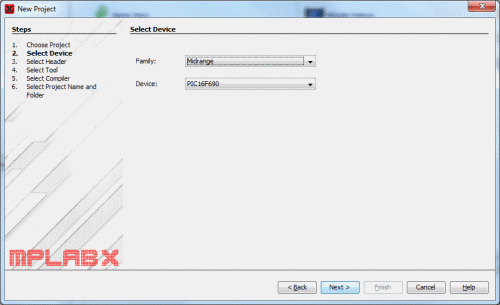
We now must tell MPLAB X what specific device we are programming. In this guide I am assuming a PIC16F690. It can be found in the Midrange family. Once you have selected the correct device, click Next.

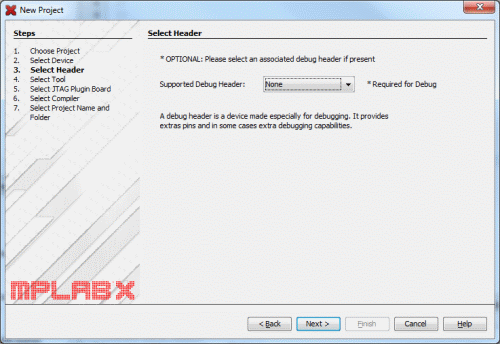
Since we are using a PIC16F690, in the next step you will be asked if you are using a debug header. This guide assumes you don't have one, so select "None".

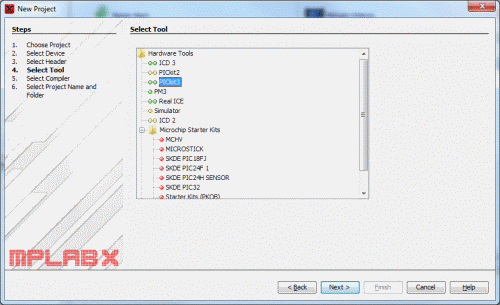
The next step is to tell MPLAB X which programming/debugging tool we are using. Select whichever programming tool you have. However, this guide will assume you are using a PICkit2 or PICkit3.

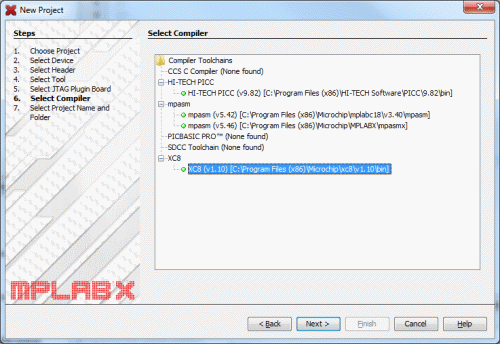
The next step is to tell MPLAB X which compiler we will use. If you have installed XC8 correctly, it will show up in the list with a green circle beside it. Click it then click Next.

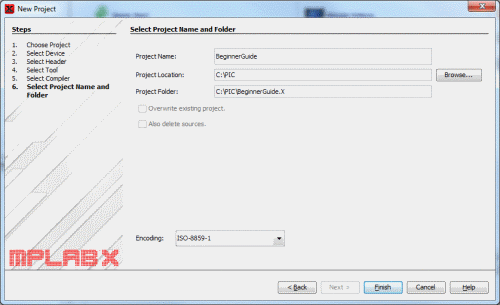
The next window involves giving our project a name and telling MPLAB where to save it. Type a name for your project. I will use BeginnerGuide. Next, choose a Project Location. I always save my projects in C:\PIC. You can choose whatever suits you. The ProjectFolder field will be automatically populated. You do not need to change it. When you are done, click Finish.

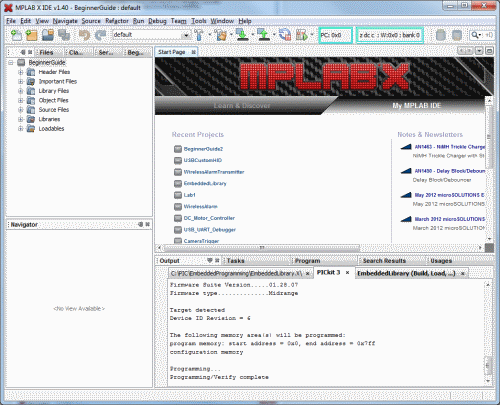
We now have a new project ready to go. Your main window should look like the image below.


Our new empty project.

Now we must add some source code to our project to test it out. In the Projects tab right-click Source Files. Select New>Empty File...


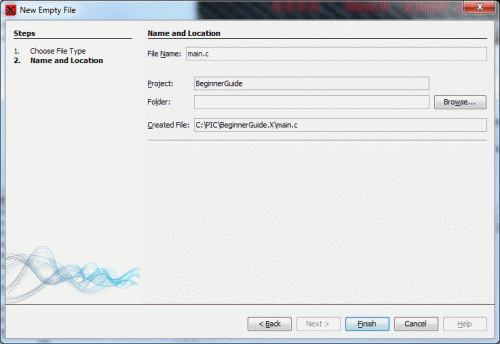
Type main.c for File Name. If you wish to keep your source files separate from the other project files, you can type a name in the Folder field. "src" is a common choice. I will leave it blank and place the file in the main project directory. When you are done, click Finish.

In the main window you will now see the contents of main.c. It is empty! Let's type in some code so we can test the compiler. Copy the following code into main.c.

#include <xc.h> int main() { NOP(); }

We are now ready to compile our code. In the toolbar, click Build Project.


Build is the hammer icon.

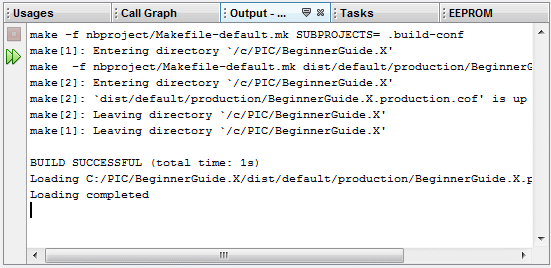
If everything is installed correctly, you will see a Build Successful message in the Output window. If you are getting errors, double check your steps. Check the Output window for hints as to what is wrong.


If everything checks out, you will get a BUILD SUCCESSFUL message.

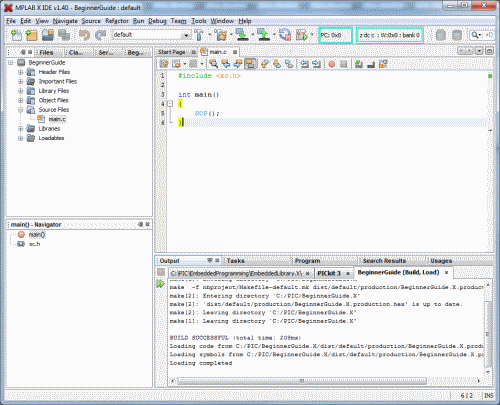
This is what the main application window looks like when everything is complete.

Congratulations! You have successfully configured your programming environment and tested its functionality. The next step is to install the PIC16F690 on a breadboard and provide the necessary connections for the PICkit programmer.